Post by Sinfil on Jul 29, 2006 16:39:06 GMT -5
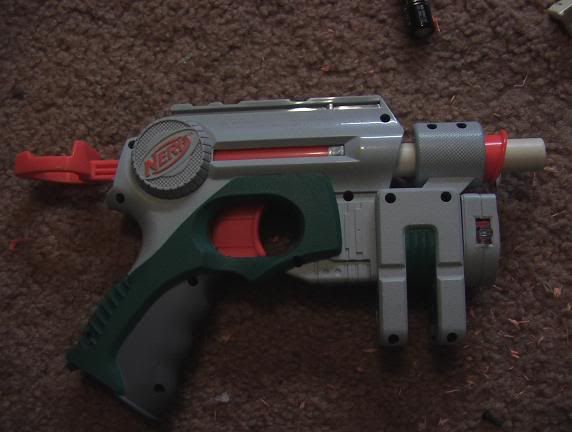
First of all, I would like to say that this is just a regular, run-of-the-mills NiteFinder modification. I’ve modded well over 10 of them in the past year, and doing more has become a sort of chore instead of enjoyment. However, in light of an all-night war my friend is hosting tomorrow, I’ve decided to spiff up a pair of stock ones I had lying around.
Second of all, I would like to say that these are my friend’s guns, of whom I have reached an agreement with: since he is really terrible at modding, he buys guns and gives them to me, and I mod them how I see fit. After I’m done with them, I keep which ever ones I feel like and give the rest back. It suits me fine. Consequently, he is also the one having the war.
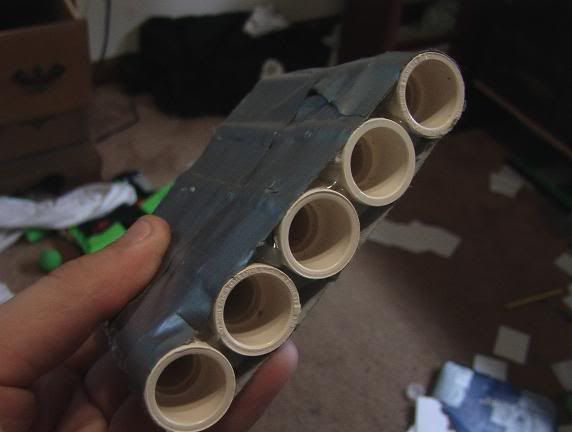
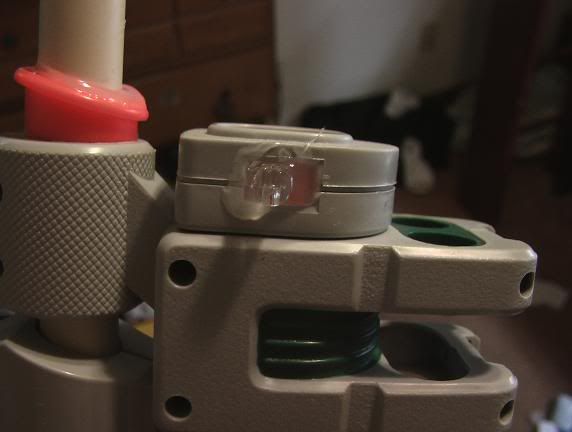
What I usually do with NFs is one of two things- stick a 4” barrel on it, keeping the shell relatively intact, or stick a reinforced 2” barrel on it, hacking away the shell so that it’s pocket sized. Sometimes I would put a breech on them, replace the springs, minor things like that. Since I am going to be playing in a night environment however, I wanted something different. I wanted the light to stay put, and, if I could, to increase the RoF.
So I began by taking apart the gun.
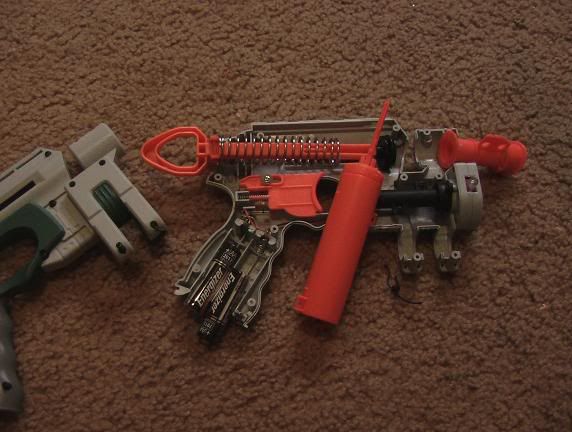
Unscrewing the plunger and barrel assembly, I took out the pronged air restrictor and its spring.
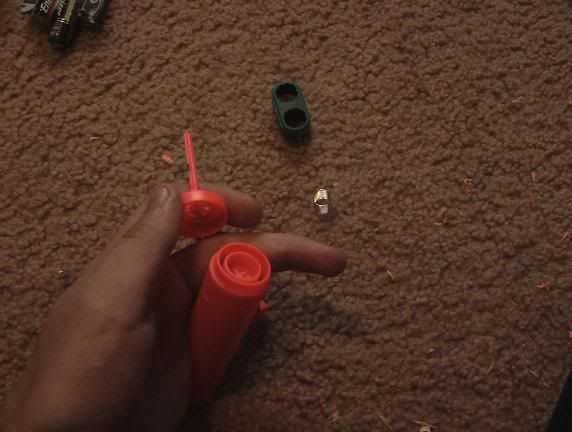
I’ve never done this before, but I wanted a sturdy gun after my last war, where I had opened up my bag to find all but one NF’s barrels completely ripped off or bent sideways. So, I took this piece
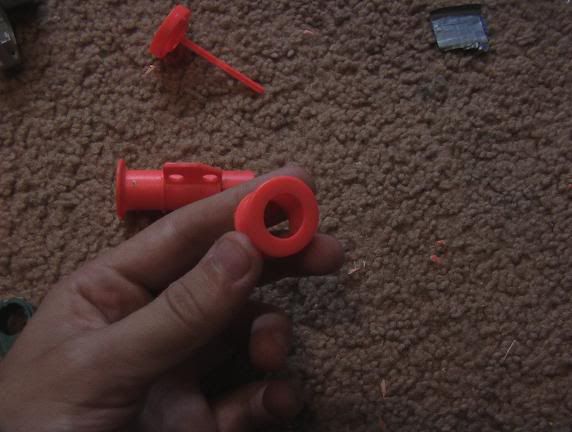
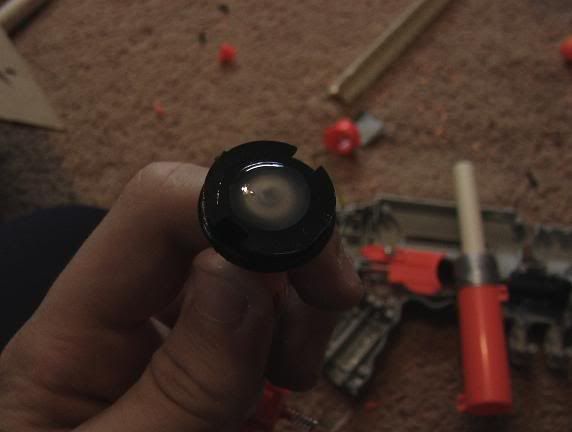
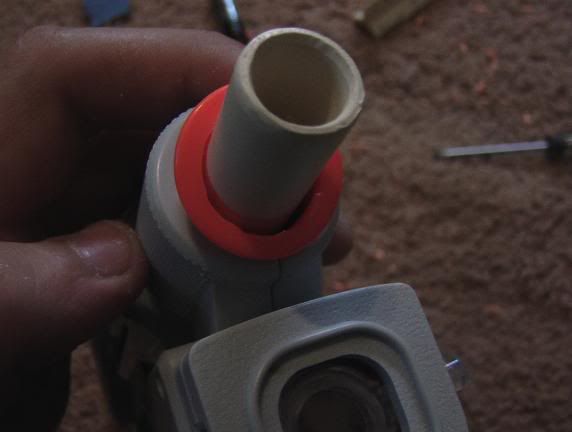
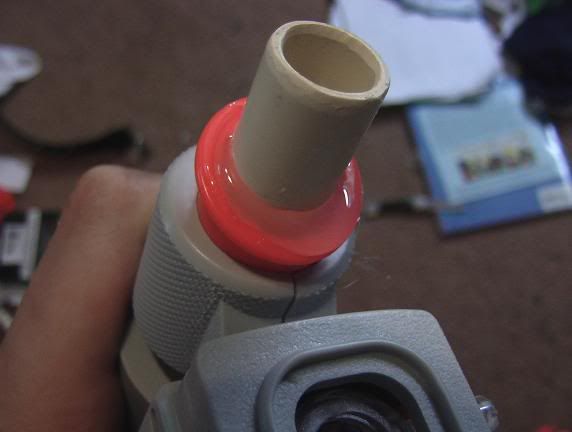
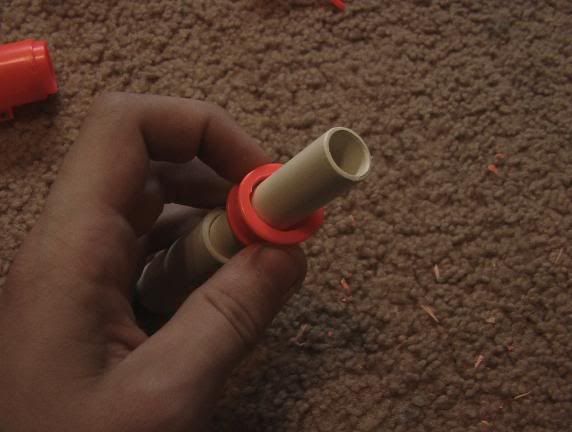
And kept it. I threw away the original barrel, since I had no use for it now. Taking out my handy dandy knife, I carved away the rim so that CPVC could easily slip through it.
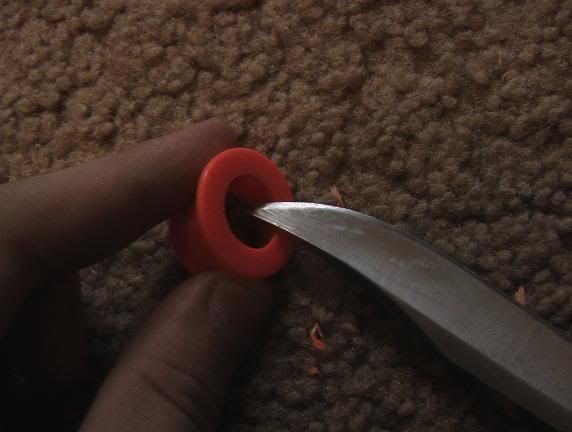
See?
Going back to the pointy piece, which you need, I sliced off the raised platform supporting the long pole, again with my knife.
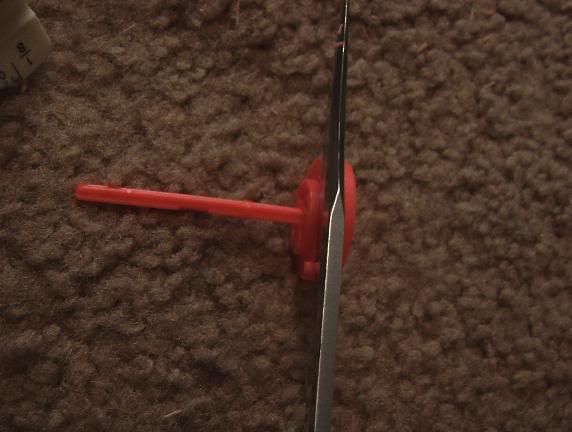
Make sure that the edges of the whole are completely flat. I did this with the tip of my knife, and then went over it with sand paper, to rough it up for when I attack the barrel.
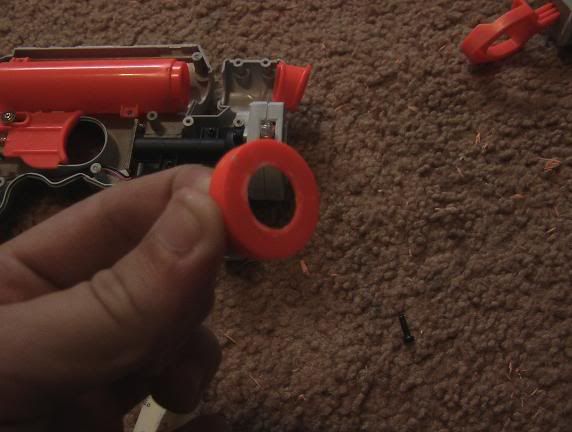
Now, here I don’t have a before-and-after picture, but you can get the gist. I took a drill bit (a small one), and drilled multiple holes through the plunger-stopping piece, until there wasn’t anything left to drill. For those unaware, this improves airflow.
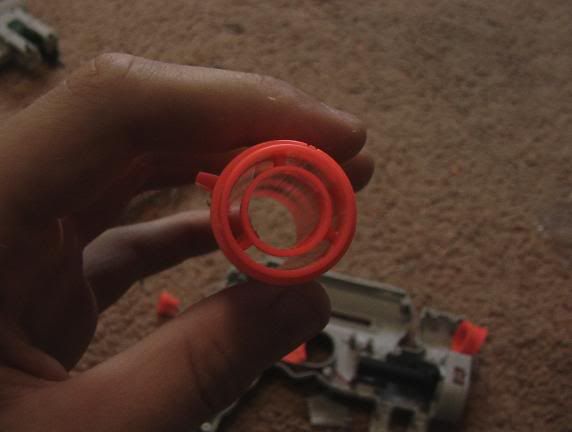
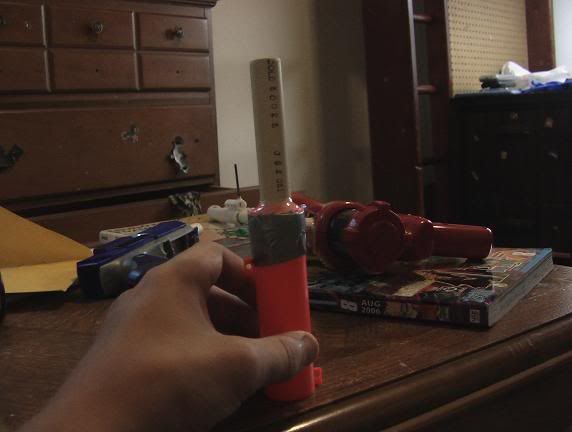
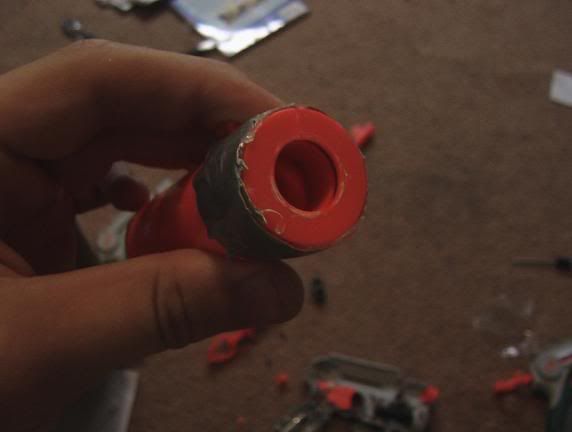
Taking the piece you sliced the top off of, you want to glue and tape it to the plunger assembly. Since I’m all out of electric tape, I made due with ½ a strip of duct tape. I applied the tape when the glue was still hot.
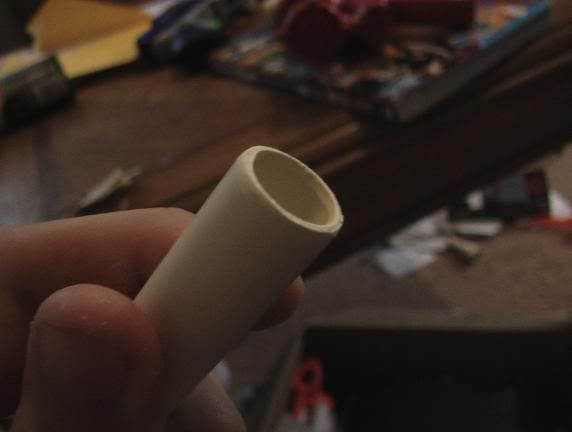
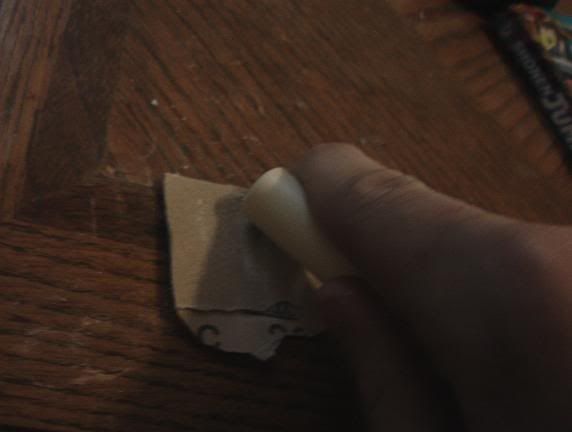
For this particular mod, I used a 3” barrel. Why? I don’t know. I just felt like it. After you cut it, you want to sand one end down, which is what I am doing in the picture.
Second of all, I would like to say that these are my friend’s guns, of whom I have reached an agreement with: since he is really terrible at modding, he buys guns and gives them to me, and I mod them how I see fit. After I’m done with them, I keep which ever ones I feel like and give the rest back. It suits me fine. Consequently, he is also the one having the war.
What I usually do with NFs is one of two things- stick a 4” barrel on it, keeping the shell relatively intact, or stick a reinforced 2” barrel on it, hacking away the shell so that it’s pocket sized. Sometimes I would put a breech on them, replace the springs, minor things like that. Since I am going to be playing in a night environment however, I wanted something different. I wanted the light to stay put, and, if I could, to increase the RoF.
So I began by taking apart the gun.

Unscrewing the plunger and barrel assembly, I took out the pronged air restrictor and its spring.

I’ve never done this before, but I wanted a sturdy gun after my last war, where I had opened up my bag to find all but one NF’s barrels completely ripped off or bent sideways. So, I took this piece

And kept it. I threw away the original barrel, since I had no use for it now. Taking out my handy dandy knife, I carved away the rim so that CPVC could easily slip through it.

See?

Going back to the pointy piece, which you need, I sliced off the raised platform supporting the long pole, again with my knife.

Make sure that the edges of the whole are completely flat. I did this with the tip of my knife, and then went over it with sand paper, to rough it up for when I attack the barrel.

Now, here I don’t have a before-and-after picture, but you can get the gist. I took a drill bit (a small one), and drilled multiple holes through the plunger-stopping piece, until there wasn’t anything left to drill. For those unaware, this improves airflow.

Taking the piece you sliced the top off of, you want to glue and tape it to the plunger assembly. Since I’m all out of electric tape, I made due with ½ a strip of duct tape. I applied the tape when the glue was still hot.

For this particular mod, I used a 3” barrel. Why? I don’t know. I just felt like it. After you cut it, you want to sand one end down, which is what I am doing in the picture.


